Inserting your questions
Once you have created your new survey, Snap XMP Online displays the Build section of the questionnaire. The Build section is where you design your questionnaire.
In the Build section you can
- Insert questions
- Add routing
- Include validation and masking
- Change the questionnaire properties
- Preview and test your questionnaire
This section takes you through the steps to build an example questionnaire. The questionnaire is based on a conference event where the organizers would like feedback from the people who have attended the event.
These step by step instructions show you how to add a number of questions to create a questionnaire in Snap XMP Online.
Inserting a question
At the start of your questionnaire there may be questions that are automatically added from the template you have chosen. When you want to add new questions you can use the Insert question side menu to select a question style or use the keyboard shortcut.

Once you have selected a question style from the Insert question side menu, there are three ways of inserting a question
- Double click
This will insert the new question after the currently selected question in the questionnaire. If no question is selected, the new question is inserted at the end of the questionnaire.
- Drag and drop
As you drag the question over the questionnaire you will see a Drop here message that shows you where the question will be placed.

- Keyboard Shortcut
Use Ctrl and Enter to insert a new question after the current question. This creates a question that can be from the Single choice or Multiple choice group of questions.
Question Toolbar
When a question is selected in the Online Designer a Question toolbar is displayed that lets you edit the question.
You can see the type of question in the drop down on the Question toolbar. The example below is a Title question.

Toolbar Icons | Description |

| Click to open the Routing side menu for the current question. |

| Click to open the Validation &Masking side menu for the current question. |

| Close the Question toolbar. Click on the question to open the Question toolbar again. |

| Click to toggle the visibility of the question for the current edition of the questionnaire. |

| Click to delete the question. |

| Click to open the More menu which gives further actions. |
More menu
Clicking the ![]() button on the Question toolbar displays the following menu.
button on the Question toolbar displays the following menu.
Menu Item | Description |
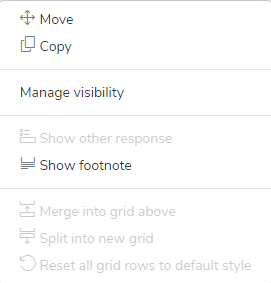
Move | Move the question to another position in the questionnaire. Choose where to paste the question by selecting the relevant paste button. Click Abort Paste on the Questionnaire edit menu bar to cancel the operation. |
Copy | Copy the question to another position in the questionnaire. Choose where to paste the question by selecting the relevant paste button. Click Abort Paste on the Questionnaire edit menu bar to cancel the operation. |
Manage visibility | Display the Manage visibility dialog where you can set whether the question is shown or hidden for all the available editions. |
Show other response | Available in a multiple choice question and inserts a label and a text input field that allows the respondent to enter free format text. This allows the respondent to enter an answer that is not included on the list. |
Show footnote/ Hide footnote | Toggle the footnote to show or hide. The footnote is shown below the question and can contain additional information to the question. |
Merge into grid above | Available when there are two consecutive grid questions that can be merged to create one grid. |
Split into new grid | Available for a grid with multiple rows to split the questions into a new grid. |
Reset all grid rows to default style | Remove formatting on the grid and return it to the default style. This does not alter other changes such as number of Options or Rows. |
Adding a title
A questionnaire normally starts with a heading explaining the questionnaire’s purpose. The title can contain text and a logo or other image.
- To set the title text click in the Title text box.

- Enter the title of your questionnaire.

Inserting a Logo in the Title
Often a questionnaire heading includes branding. This can be a logo or other image that is displayed by itself or with a title. In this example, the Snap Surveys logo is used.
- Click the Insert an Image button on the Format toolbar.

- The Image Browser dialog opens.
- Each image can be provided with a description in the Alt/Title text. This is used as the tool tip, when the respondent is unable to see the image and is also used by voice readers active on the browser. This example shows the description as Snap Surveys logo.
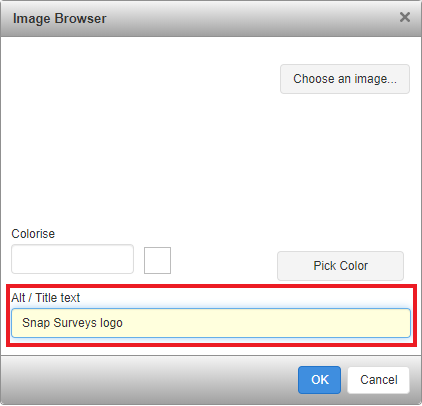
- Click the Choose an image button to select an image.
- The Select an image to insert dialog shows the available images. If your image is not shown, use the Choose file button to find and select the image.
NOTE: In some web browsers the button is called Browse rather than Choose file.
NOTE: The image is stretched to fit in the dialog box however it will display in its expected ratio in the questionnaire.
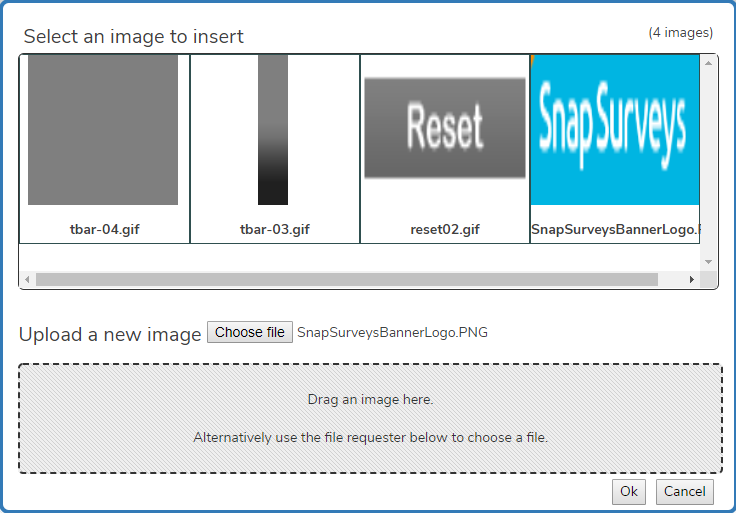
- Select the image you would like to insert and click OK. This takes you back to the Image Browser where you can click OK again. The selected image is inserted into the Title text as shown.
NOTE: In some web browsers the Image Browser displays Resize % to resize the image..

Adding a Sub Title
The sub title usually contains text that provides more information about the questionnaire.
- Select the Sub title question from the Titles and instructions section of the Insert question menu.
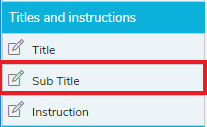
- Insert a Sub title question into the questionnaire.

- Click in the Sub Title text and enter your text

Adding a Single Choice question
Next, add a Single choice question where the respondent can select a Yes or No answer.
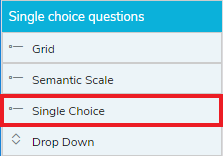
- Select the Single Choice question from the Single choice questions section of the Insert question menu.
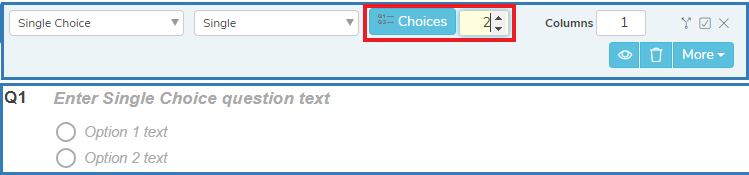
- Insert a Single Choice question into the questionnaire.
- Set the number of Choices to 2 as the question has two answers.
- This question is going to be displayed vertically so the number of Columns remains at 1.
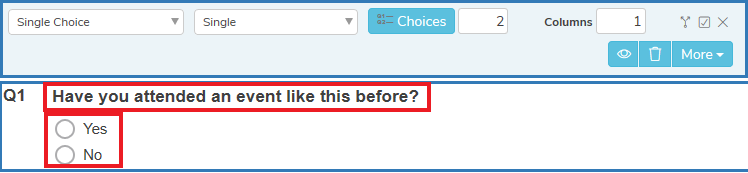
- Enter the Single Choice question text “Would you like to receive further information on any of today’s workshops?”
- Click in each Option Text and add the desired text.
Adding a Multiple choice question
A Multiple Choice question is similar to a Single Choice question, as it contains answers with radio or check boxes, but the respondent can respond with multiple answers.
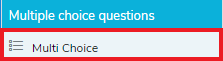
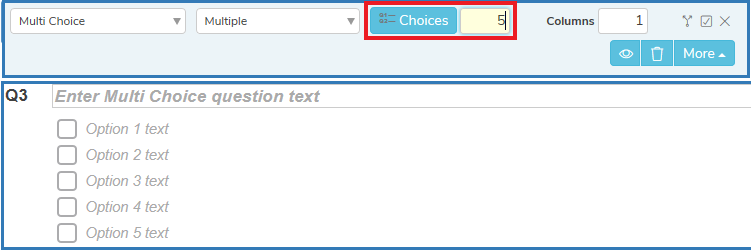
- Select the Multi Choice question from the Multiple choice questions section of the Insert question menu.
- Insert a Multi Choice question into the questionnaire.
- Set the number of Choices to 5 as the question has five answers.
- This question is going to be displayed vertically so the number of Columns remains at 1.
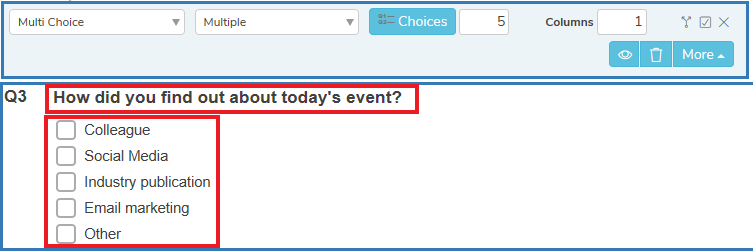
- Click in the Multi Choice question text and enter “Please select the workshops you are interested in.”
- Click in each Option Text and add the desired text.
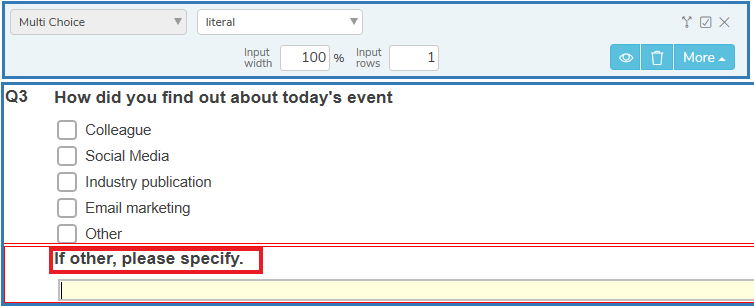
Show other response
When you are creating a list of items it is likely the list will not be exhaustive. This is where creating an answer of “Other” can help. This lets you collect further information from the respondent.
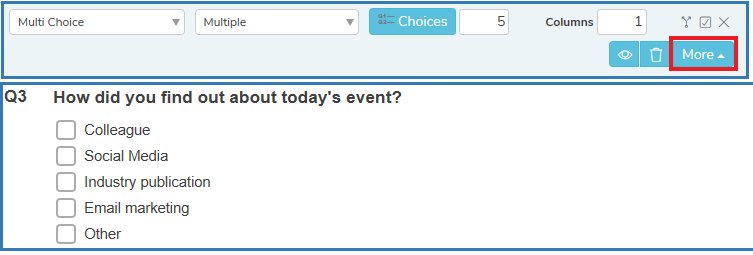
In our example, the last answer in the Multi choice question is “Other”. You can show an Open ended question where the respondent can enter free format text giving further details.
- Click More on the Question toolbar to open the menu.
- Click Show other response.
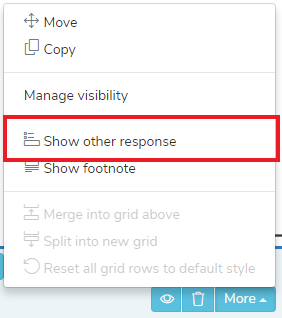
- This inserts an Open ended question below with a label and a free format text input box. In our example, the label is entered as “If other, please specify.”
Adding Instructions
An Instruction is text providing guidelines to a respondent on how to complete a section of the questionnaire. An Instruction can appear anywhere in the questionnaire.
- Select the Instruction question from the Titles and instructions section of the Insert question menu.
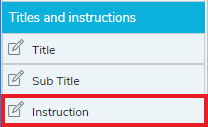
- Insert an Instruction question into the questionnaire.
- Click in the Instruction text and enter your instruction.

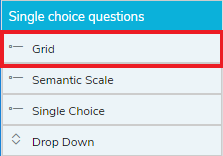
Adding a Grid Question
A Grid question consists of one or more rows of single or multiple response questions, each with one or more columns of answers, set up in a grid format. Grid questions are often used to ask respondents their attitude towards different aspects of an item using the same set of replies.
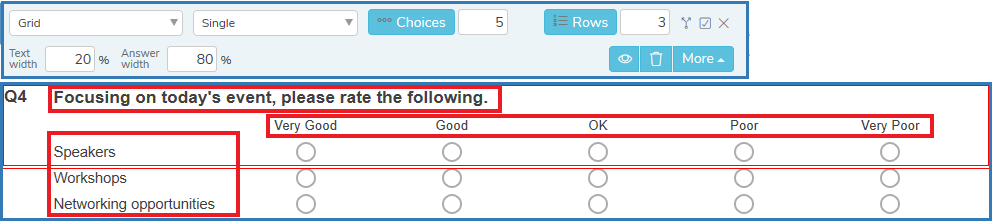
In our example, the questionnaire will ask the respondents to rate three aspects of the conference from very good to very poor.
- Select the Grid question from the Single choice questions section of the Insert question menu.
- Insert a Grid question into the questionnaire.
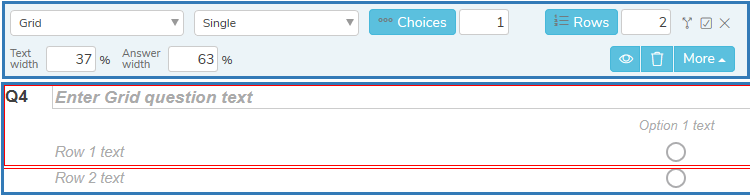
- There are three aspects to rate in this question so set the number of Rows to 3.
- There will be five ratings to choose from so set the Choices to 5.
- You can change the Text width or Answer width to style the grid.
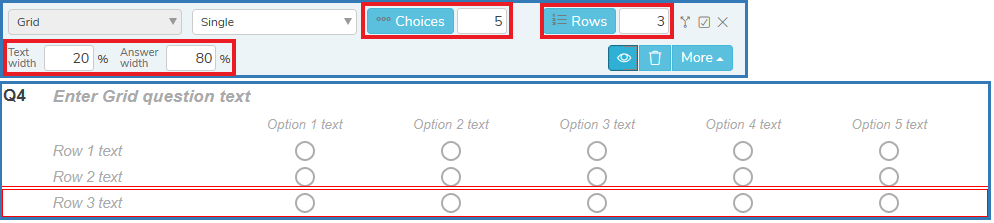
- Click in each text area and add the desired wording.
Adding an Open ended text question
An open ended text input question allows respondents to enter answers in free format text.
In the questionnaire, add a question where comments about improvements to the event can be given.
- Select the Open Ended question from the Text Input questions section of the Insert question menu.
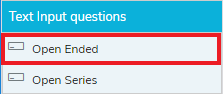
- Insert an Open Ended question into the questionnaire.
- Set the Input rows to 3 to increase the question’s response area to three lines.
- Click in the Open Ended question text area and enter your question text.

Adding a Semantic Scale
Often in a questionnaire you would like to ask respondents how they rate a particular feature, product or service. Using a Semantic Scale question style is one way to provide a rating scale.
In our example, the question asks people who have attended the conference how likely they would be to encourage other people to attend the event.
- Select the Semantic Scale question from the Single choice questions section of the Insert question menu.
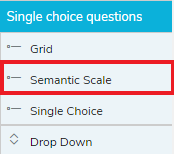
- Insert a Semantic Scale question into the questionnaire.
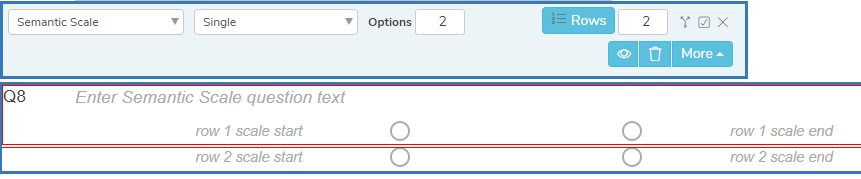
- There is one aspect to rate in this question so set the number of Rows to 1.
- There will be eleven ratings to choose from so set the Options to 11.

- Click in each text area and add the desired wording.
